Tutorial: Setting Up and Navigating Your Knowledge Library
For full details on adding documents, folder uploads, provenance, and sharing, see Knowledge Library.
This tutorial shows you how to fill your Knowledge Library so the Co-Engineer can use it, and how to find your way around once it's populated. Takes about 7 minutes.
Do this first, before anything else. The Co-Engineer draws on the Knowledge Library for every task — creating schemas, filling in data documents, answering questions. The richer the library, the better and more traceable its output. An empty library means generic answers; a populated library means answers grounded in your actual project data.
Step 1 — Open the Knowledge Library
Click Knowledge in the sidebar.
Step 2 — Add your documents
Click + Add. A dropdown appears with four options:
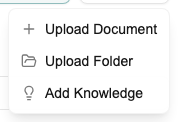
- Upload Document — upload a file (PDF, DOCX, XLSX, XLS, CSV, TXT, MD, JSON, PNG, JPG, JPEG, WEBP, GIF, TIFF, and more — up to about 16 MB). This is the most common option.
- Upload Folder — bulk upload many files at once. A progress indicator tracks succeeded and failed files.
- From SharePoint — import files, folders, or a whole document library from SharePoint. See Import from SharePoint.
- Add Knowledge — type a note directly without a file. Use this for decisions and rationale captured in the moment.
Choose Upload Document, select your file, give it a name, and click Upload. Protos splits it into chunks and embeds them so the Co-Engineer can search across the content.
Step 3 — Or let the Co-Engineer create knowledge from a conversation
Notice the Create with Co-Engineer button at the top. Click it to open a Co-Engineer session pre-loaded with a prompt to help you add knowledge — describe what you want to capture and the Co-Engineer will guide you through creating entries.
Step 4 — Name, tag, and categorize
Give each document a clear, consistent title (e.g. by material or document type). You can also add tags to a document inline from its row in the library table, and Protos auto-classifies each document into a source category (Research, Datasheet, Web, …). See Knowledge Library → Tags for more.
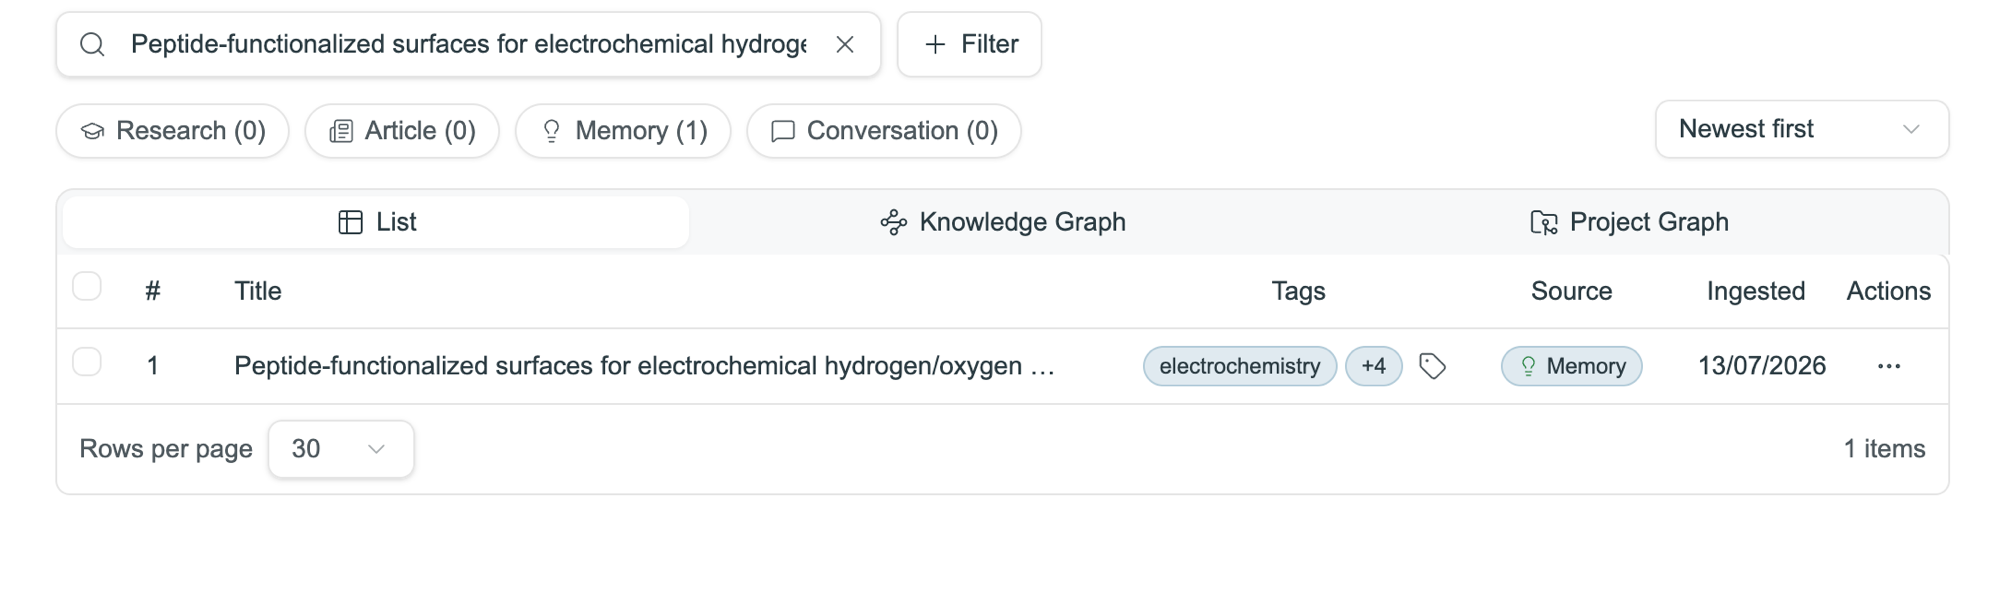
Step 5 — Find your way around
Once you have a few documents, the library gives you three views, switched from the tabs at the top:
- List — the default: a flat, paginated table with one row per document.
- Knowledge Graph — a visual map of how your documents and the assets that cite them connect.
- Project Graph — the same connections narrowed to the current project.
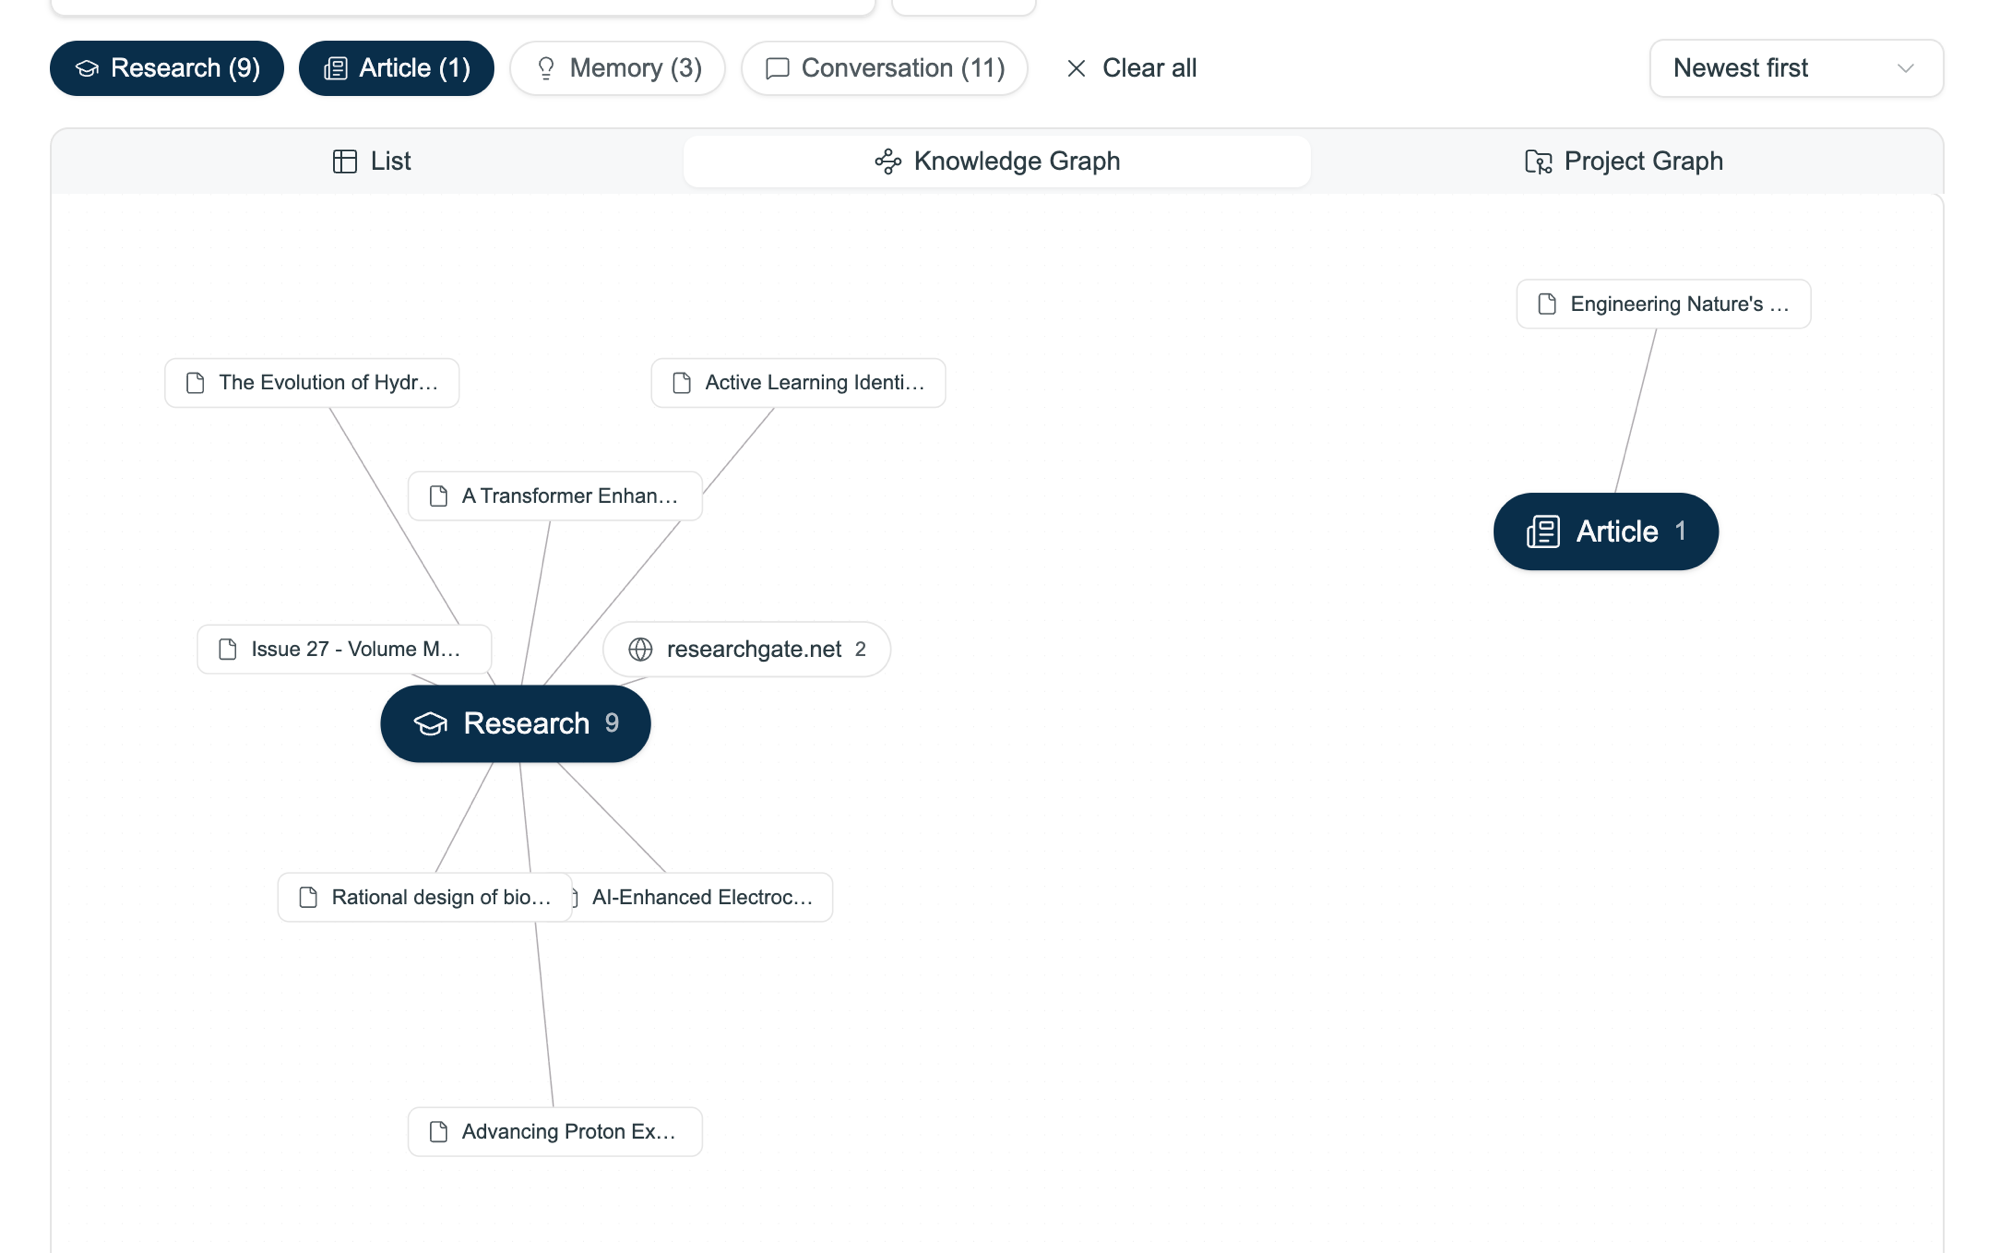
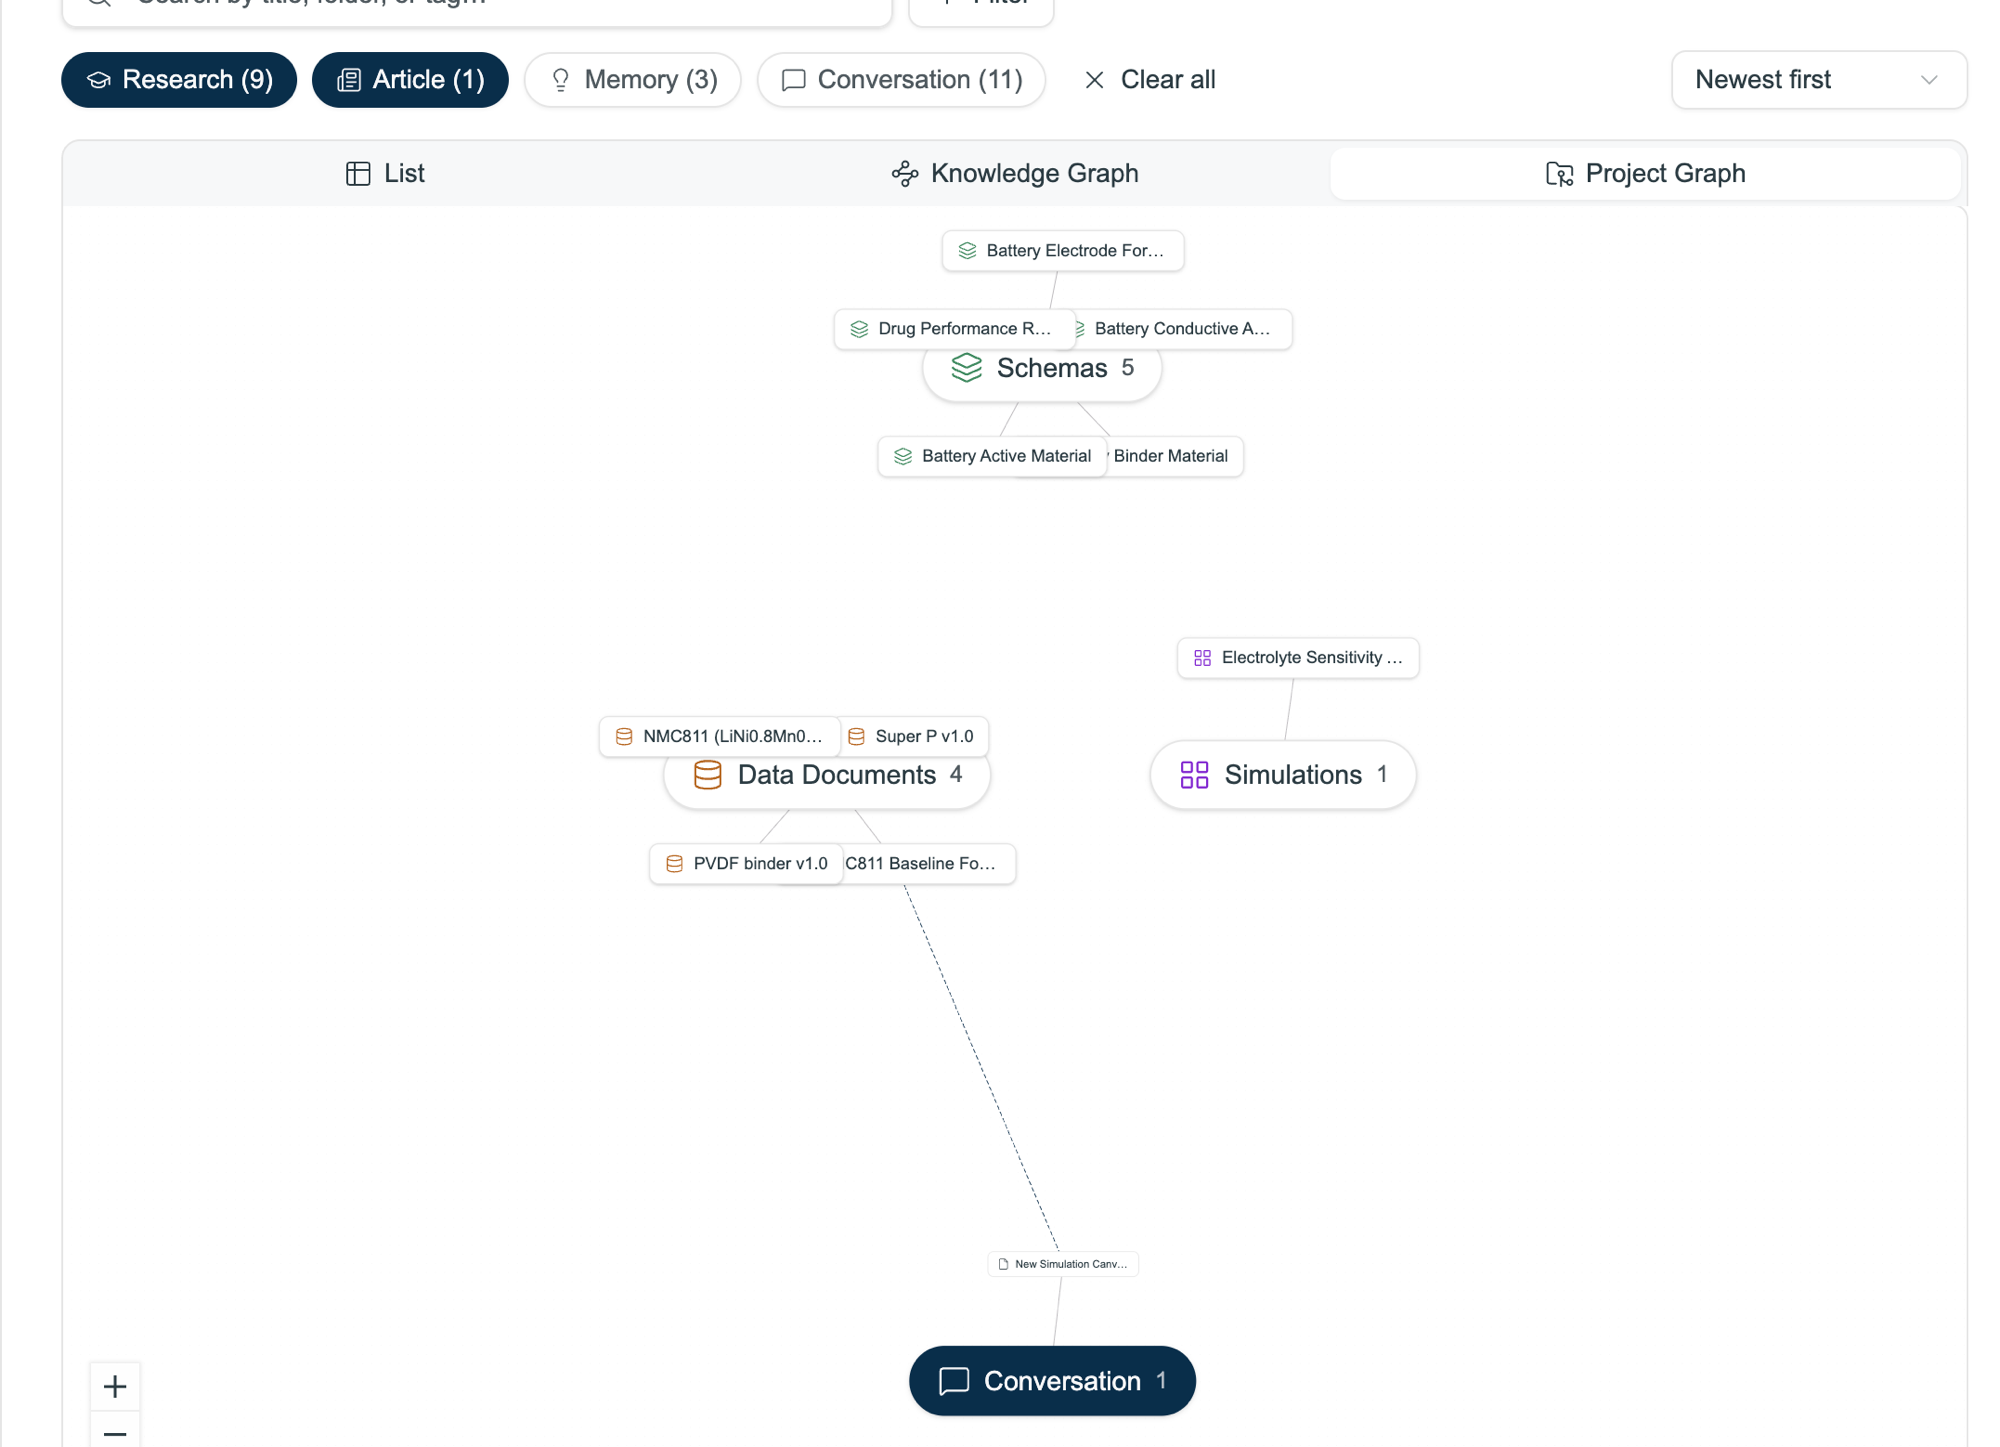
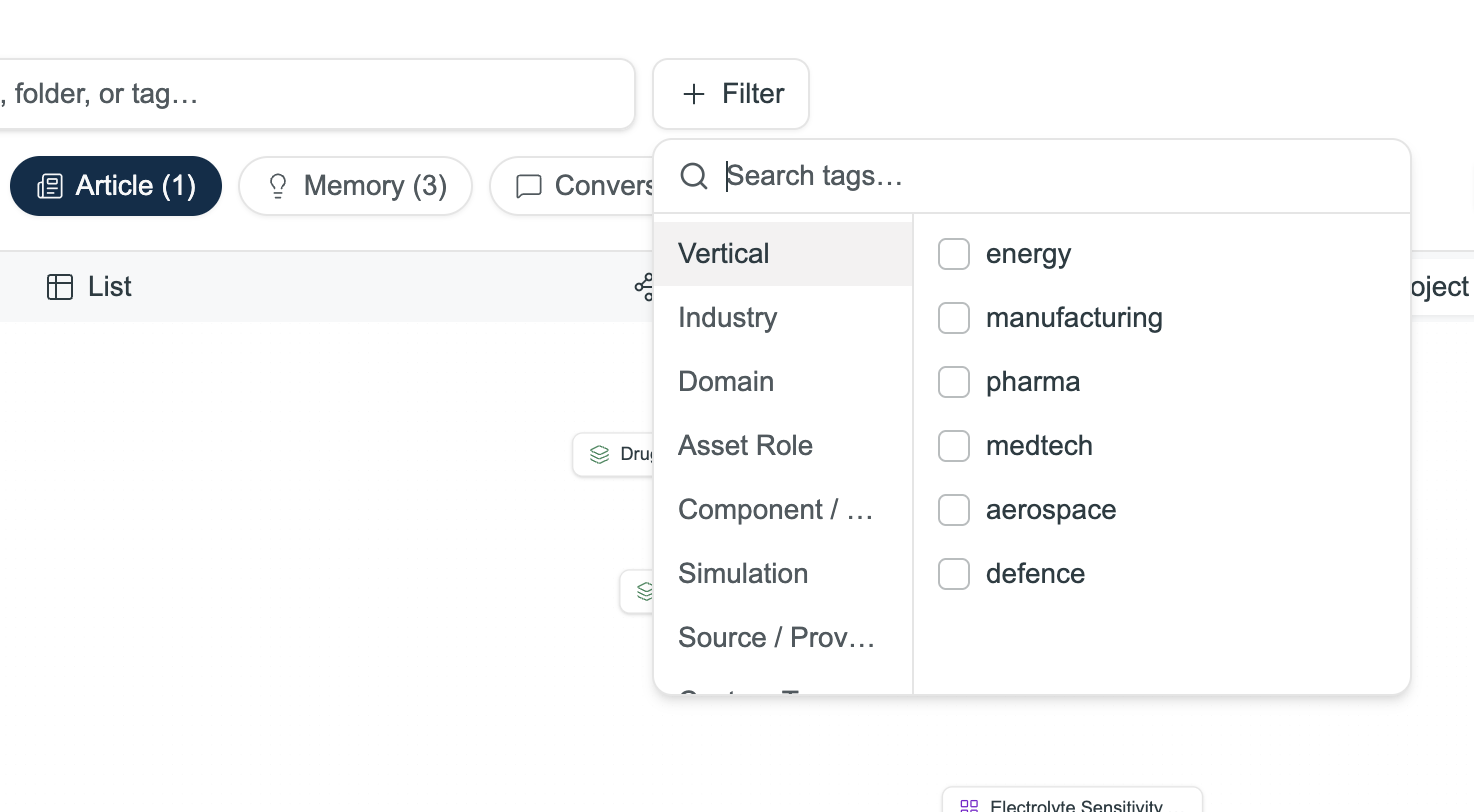
In the List view, narrow things down with:
- Category chips (Research, Article, Memory, Conversation, …) — each shows a count; click to filter by where a document came from.
- Tag filter — click + Filter to filter to documents carrying a given tag.
- Mine / Shared chips — these appear once documents have been shared with you, so you can switch between your own documents and shared ones.
- Search — matches titles, folder names, and tags (not document content). Search for a keyword from a document you just added to confirm it's in the library.
Step 6 — Open a document
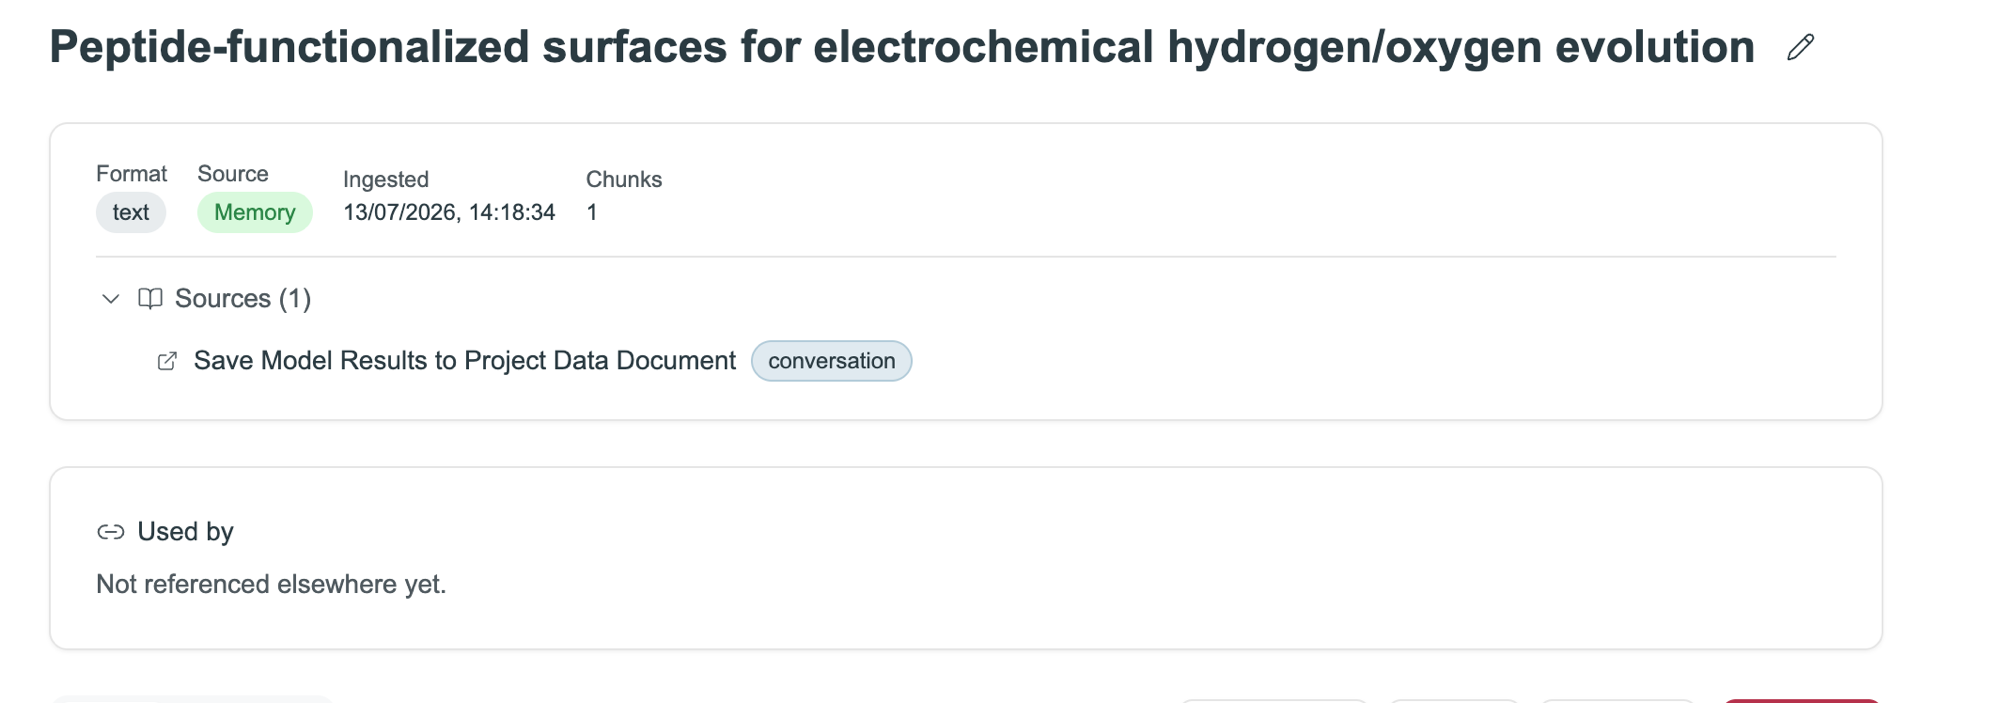
Click any row to open its detail page, where you can:
- Read the full content — and edit the text inline for knowledge notes.
- See its source category and the sources it drew on.
- See what it's Used by — the schemas, data documents, models, and canvases built from it. (For a document created from a Co-Engineer conversation, this panel is titled "Modified in this conversation" and links back to that chat.)
- Download the original file (or the extracted text, for conversation- and note-based entries).
- Share it read-only with people, teams, or an email domain.
One thing that matters most: capture decisions as text notes as you make them. A note like "Chose 1.2 mol/L — Q1 study showed peak conductivity at this concentration" written in the moment is far more useful than trying to reconstruct it six months later.
Next step
→ Tutorial: Working with the Co-Engineer — now that the library is populated, use the Co-Engineer to build your first schema from it.