Tutorial: Registering Your First Model
For source types, versioning rules, and best practices, see Model Library.
This tutorial walks you through registering a Python script and verifying it works in a canvas. Takes about 10 minutes.
The Co-Engineer can register models for you. Upload your script in the Co-Engineer chat and say "Register this as a model." It will infer the input/output schema automatically and handle the registration. This tutorial is for when you want to do it manually or understand what's happening under the hood.
What you need
A Python script with a function named run, main, execute, predict, or simulate that takes inputs as arguments and returns a dict. A minimal example:
def run(coating_thickness: float, porosity: float, temperature: float):
    result = coating_thickness * porosity * (1 + 0.002 * temperature)
    return {"adjusted_capacity": result}
Step 1 — Register it
Click Models in the sidebar, then click + Register model in the top right.

The registration dialog opens. Give your model a name and key, then choose an execution type: Local runner lets you pick a runtime (Python, COMSOL, or MATLAB); Cloud runs Python only.
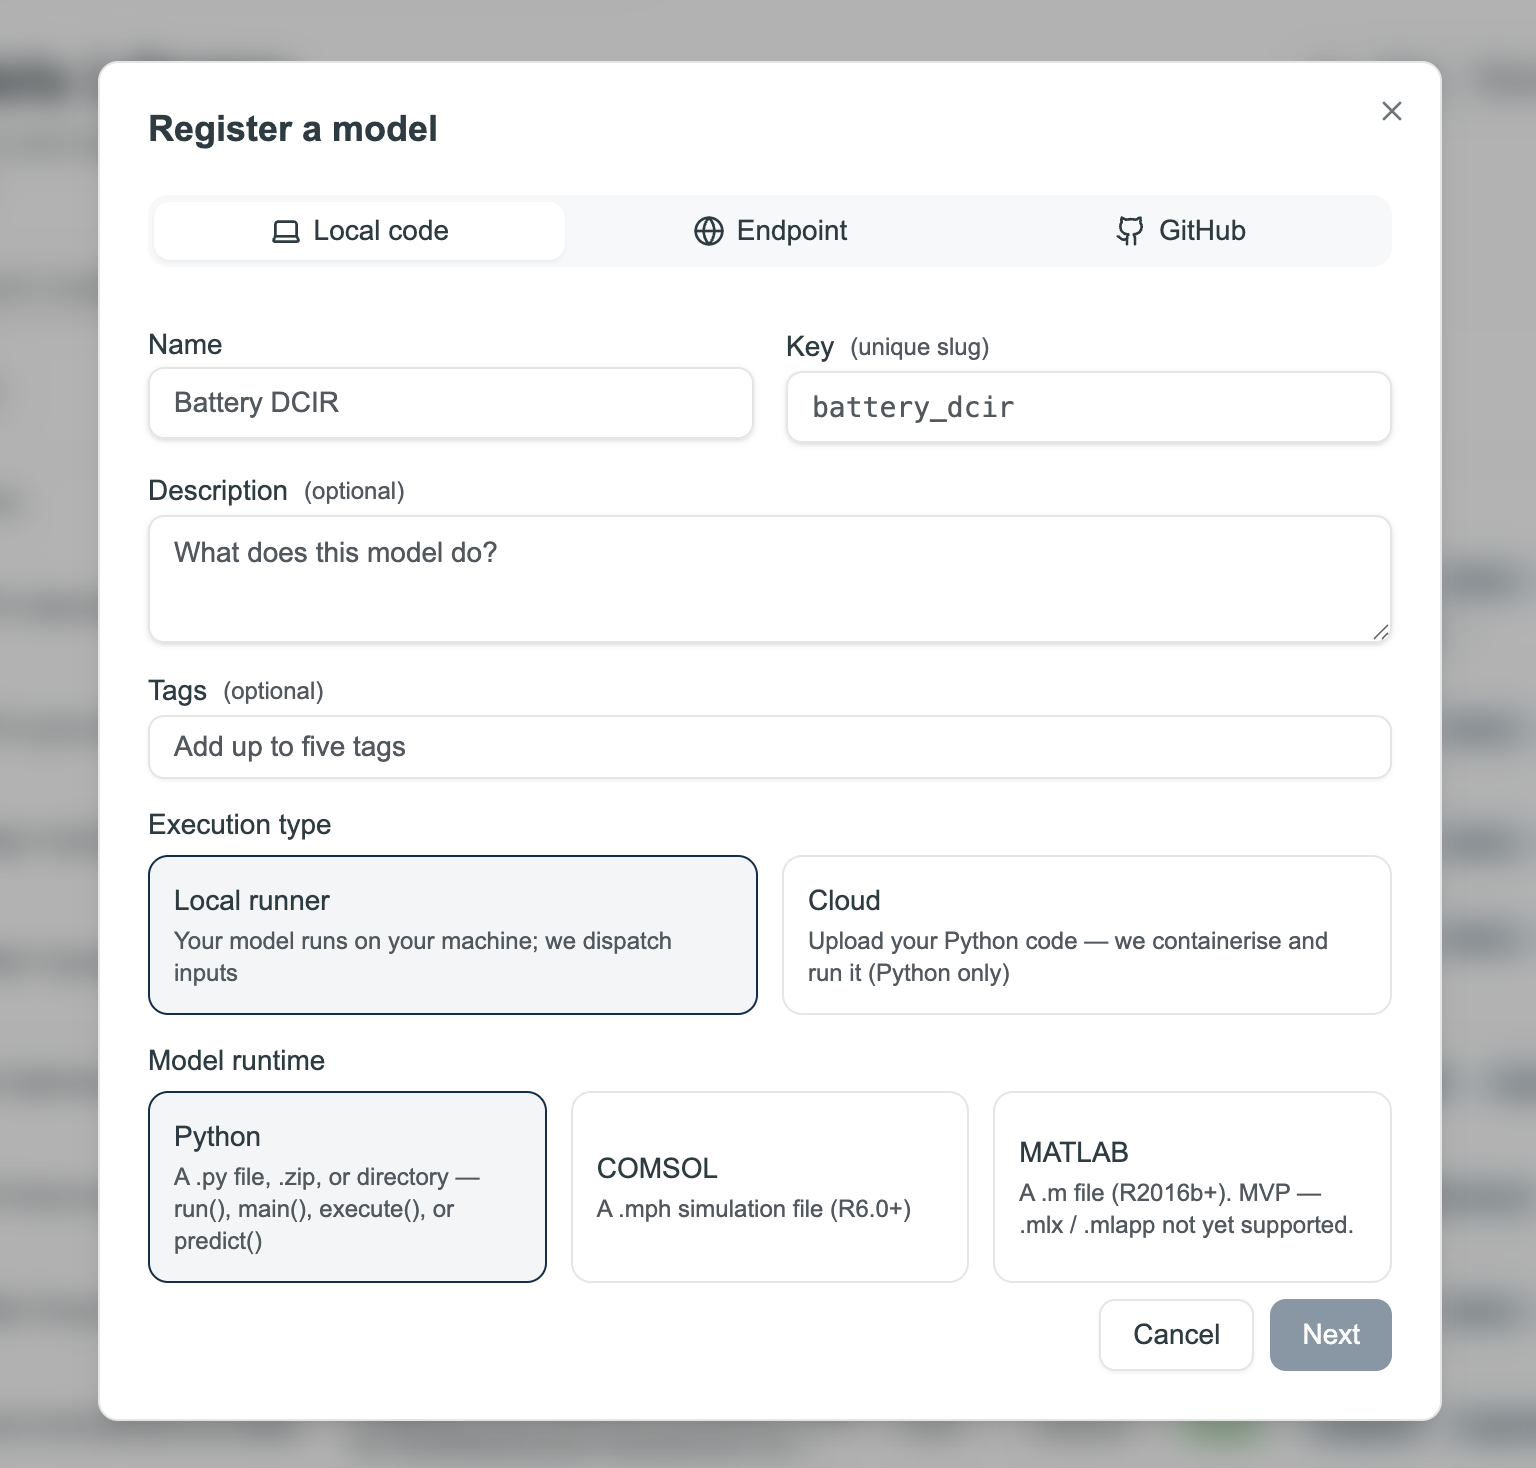
Upload your script. Protos reads it and infers the input/output schema automatically from your function signature. Review what it found — add units to every numeric field and a description to anything non-obvious. This documentation is what makes the model usable by your team later.
Fill in the name, key, description, and tags, then click Register model.
Step 2 — Test it in a canvas
Go to Simulation Studio, create a canvas, and add a Model block. Search for the model you just registered — the input fields appear as connection points.
Wire a Parameter block to each input, click Start sequence, and check the result. If it fails, the error message in the model block's detail panel will tell you what went wrong.
Step 3 — Updating name, description, or tags
Open the model and click Edit to update its name, description, or tags — this mints a new version automatically. Code can't be updated in place: if you need to change it, register a new model. Delete the old one first if nothing depends on it, or give the new one a different key if canvases are still using the old one.
Registering from GitHub instead
If your model is in a public repo (GitHub, GitLab, Bitbucket, or Codeberg), use the GitHub tab. Protos builds a container from the repo. The repo needs either a wrapper script or a protos.toml file declaring the interface — you can click Auto-draft wrapper to have AI draft a starter wrapper from the repo's README.
If your model is already accessible via an HTTP endpoint, use the Endpoint tab to register it by URL.
Next step
→ Tutorial: Building Your First Canvas — add your registered model as a block in a canvas and run it.