Tutorial: Creating Your First Schema
This tutorial walks you through building a schema from scratch, explains the decisions you'll make along the way, and shows you what to watch out for. Takes about 5 minutes.
You can also ask the Co-engineer to do this for you. Open the Co-engineer and say "Create a schema for electrode coating experiments with fields for coating thickness, porosity, active material, and mass loading." It will build the schema, choose the right types, and set the units — you just review and confirm. Skip to Tutorial: Working with the Co-engineer if you'd rather start there.
Step 1 — Open the Schema Editor
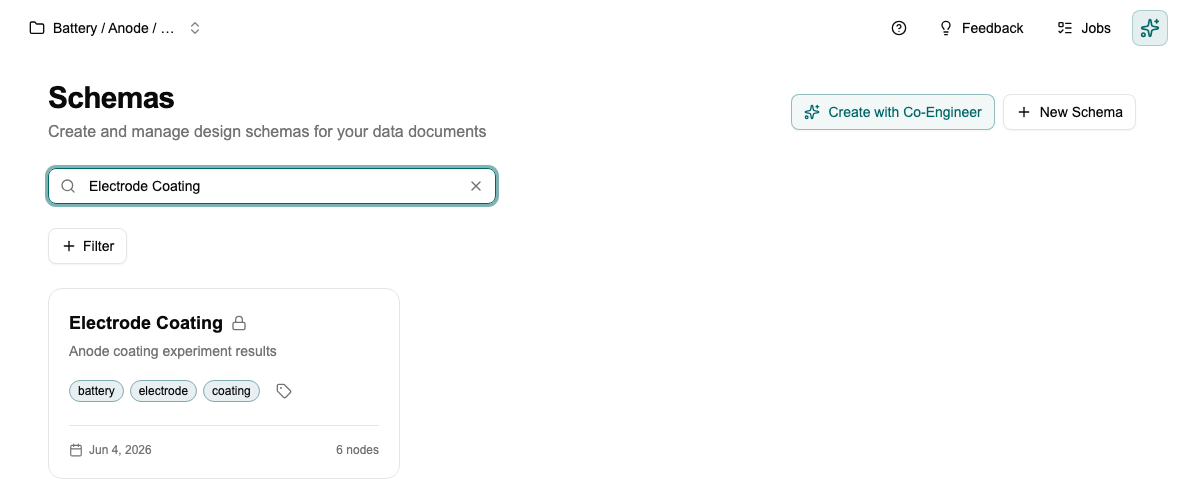
Click Schemas in the sidebar. You'll see any existing schemas as cards. Each card shows the schema name, tags, and how many fields it has.
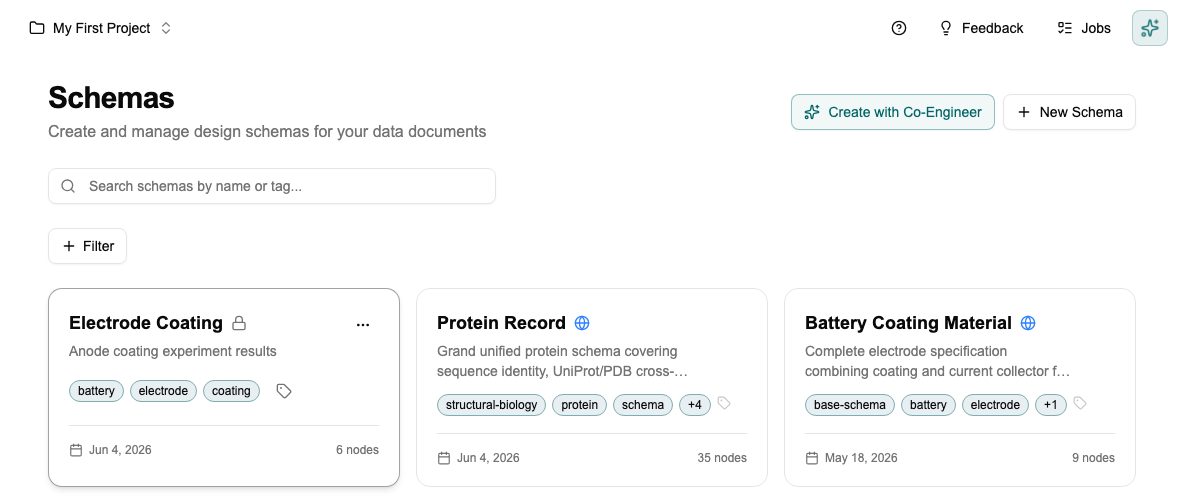
Click + New Schema in the top right.
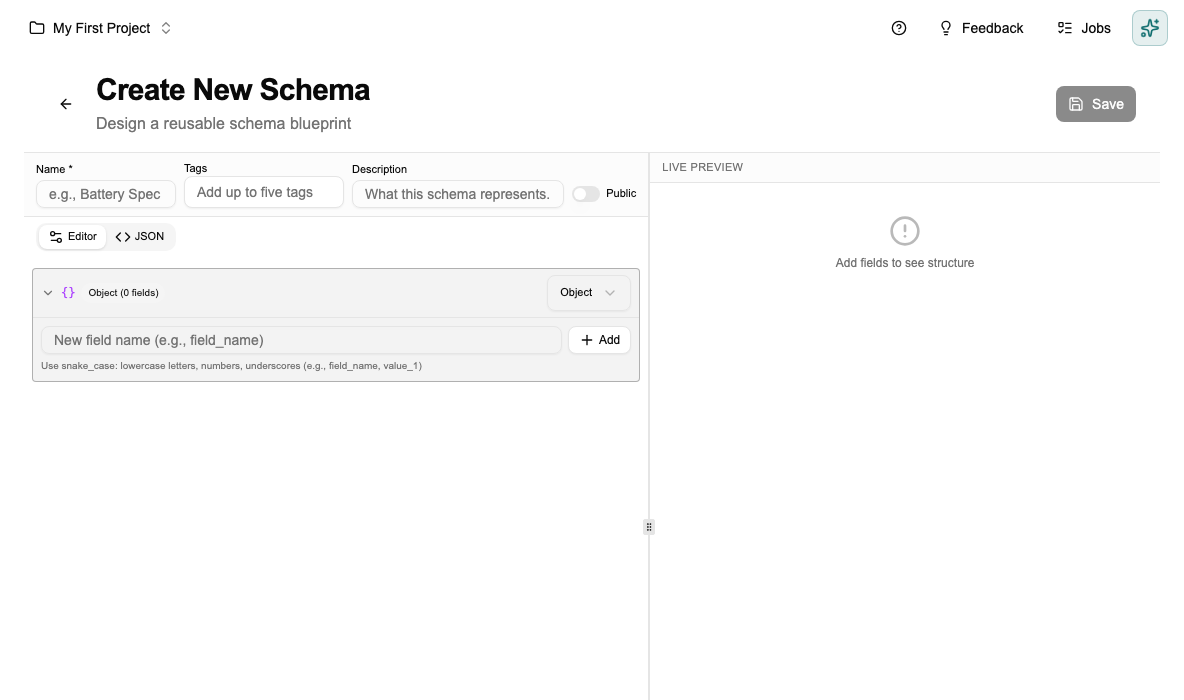
Step 2 — Give it a name
The schema editor opens. Name it using the domain + artifact convention: Battery — Electrode Coating, Pharma — Tablet Formulation, Thermal — Operating Conditions.
This naming makes schemas easy to find as your project grows — anyone can search by domain or type.
Keep it lean. Only add fields that will actually be populated. A schema with 5 well-filled fields is far more useful than one with 20 fields that half the team leaves empty. Empty fields break comparisons and make documents harder to read.
Step 3 — Add your fields
Type a field name in the bottom input and click + Add. The field appears in the list and you set its type.
Click the Type dropdown on any field to change it:
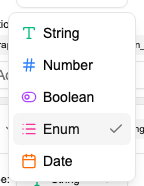
For a full description of each type and when to use it, see Schemas → Field Types. The key decision in practice: use Enum instead of String whenever values come from a fixed set — it prevents typos and makes filtering reliable.
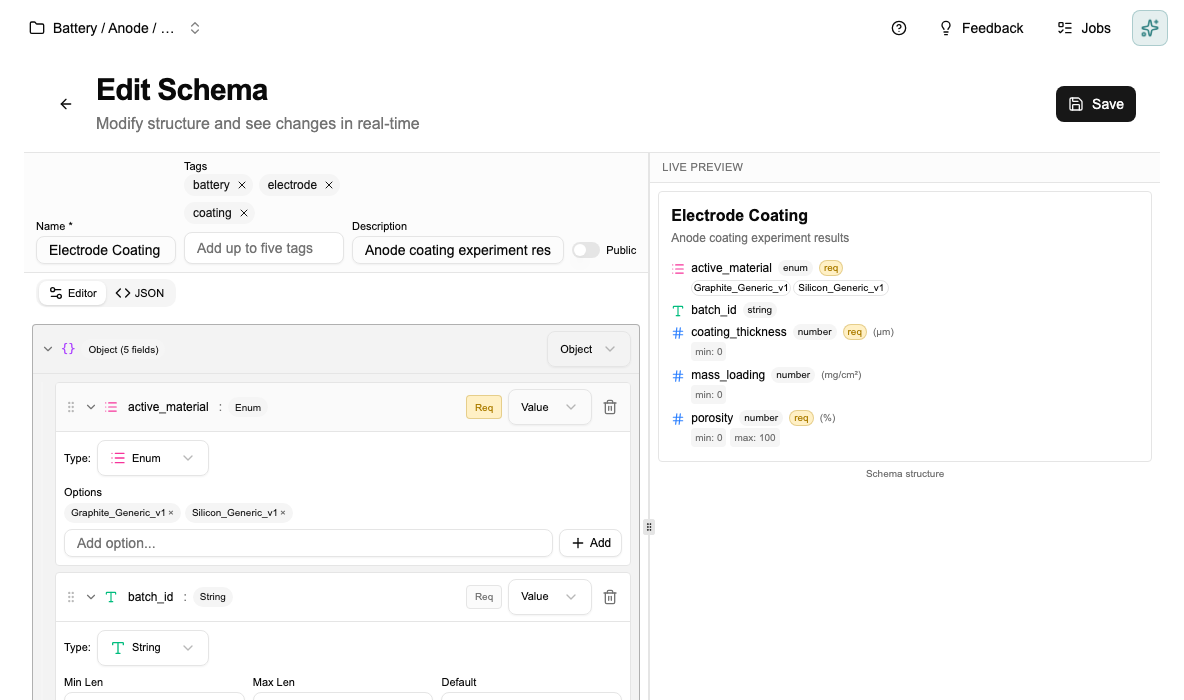
Mark a field Required only if the document is meaningless without it. A missing coating_thickness on an electrode coating record makes it useless for comparison. A missing batch_notes doesn't.
The Live Preview on the right updates as you add fields, showing exactly how documents following this schema will look:
Step 4 — Save
Click Save. The schema appears in the library as a card.
The schema is now available across your project. Go to the Data Studio to create your first data document from it.
What to avoid
- Don't add fields you won't fill consistently. Sparse data breaks comparisons.
- Don't rename or remove fields once data documents exist against this schema. This can corrupt existing documents. Add a new schema version instead.
- Standardise units before you create numeric fields. Changing units later requires migrating all existing documents.
Next step
→ Tutorial: Using the Data Studio — create documents from this schema and compare them side by side.