Tutorial: Building Your First Canvas
For a full explanation of block types, sweeps, and how the canvas connects to the Data Studio, see Simulation Studio.
This tutorial walks you through building a canvas from an empty state. Takes about 10 minutes.
The Co-engineer can build this for you. Say: "Build a canvas that takes my electrode coating data as input and calculates the theoretical capacity." It will create the canvas, add the blocks, write the Python code, and wire everything together. You then review and approve the calculation before it runs. This tutorial is for when you want to understand how to build one yourself.
What you need
At least one schema with one data document. If you don't have these yet, start with Tutorial: Creating Your First Schema.
Step 1 — Open Simulation Studio
Click Simulation Studio in the sidebar. A new project starts with no canvases.
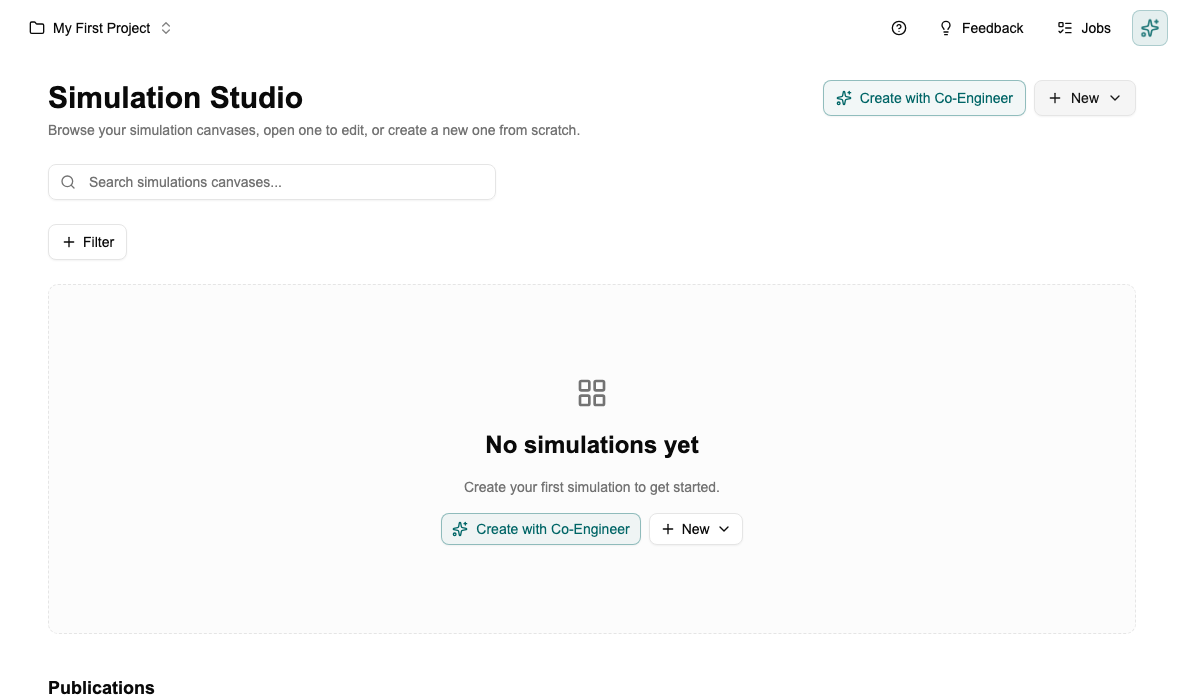
Click + New → New Canvas. Give it a name and a short description of what it calculates.
Step 2 — Add an Input block
Click + Add Component → Data Input. Select your schema and which data documents to pull in. Choose which fields to expose as outputs.
You're not hardcoding values — you're pointing at live documents from the Data Studio. Change the active documents there and the canvas picks up the new values automatically.
Step 3 — Add a Parameter block
Click + Add Component → Parameter → Number. Name it (e.g. temperature), set a value and unit.
A parameter is a value you control directly on the canvas. You can change it any time and the canvas recalculates.
Step 4 — Add a Calculation block and connect it
Click + Add Component → Calculation. Write Python code that uses the upstream values, then draw arrows from the Input and Parameter blocks to the Calculation block.
Step 5 — Approve the calculation
Calculation blocks need your approval before they run. This is a safety check — you're confirming the code is safe to execute. Click Approve on the block.
After approval it runs automatically whenever its inputs change. If you edit the code, it goes back to needing approval.
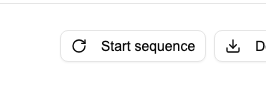
Step 6 — Run it
The canvas runs automatically when Data Studio inputs change. To force a full run from scratch, click Start sequence.
If any calculation blocks are still unapproved, Protos warns you and asks you to confirm before running them.
What a finished canvas looks like
Here's a completed canvas with three connected blocks: a data input (green), a parameter (blue), and a calculation (orange). Arrows show the data flow.
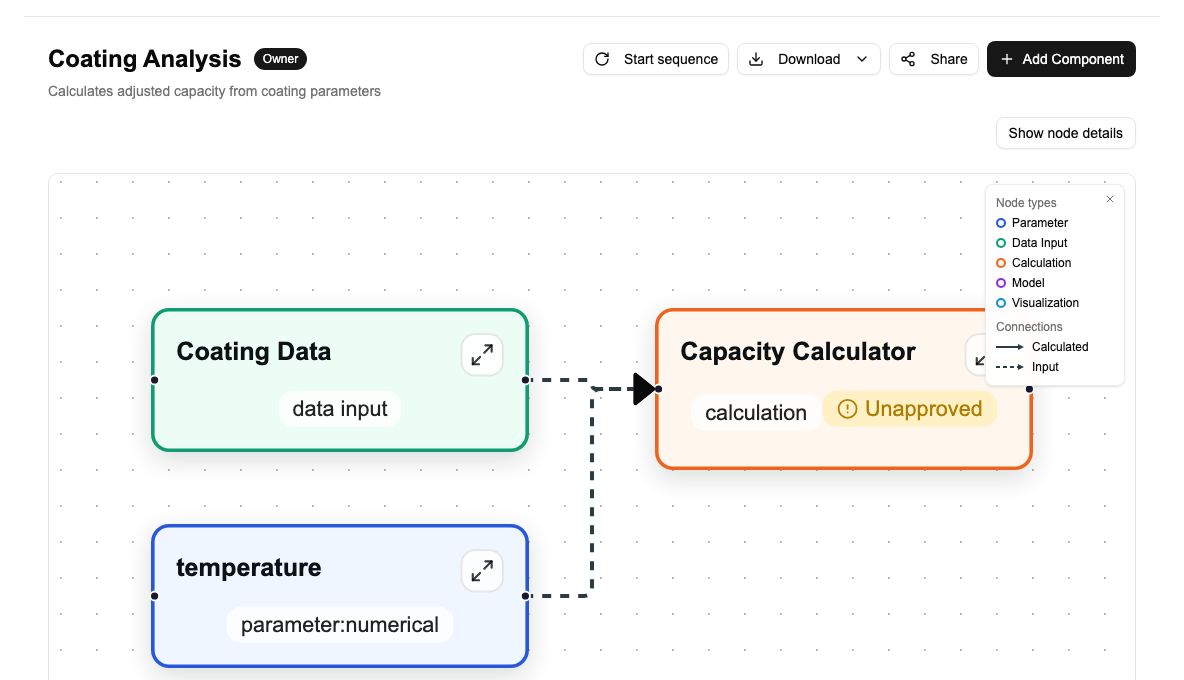
Click any block to open its detail panel and see inputs, outputs, and execution status.
Next step
→ Tutorial: Registering Your First Model — replace the Calculation block with an external model from your own code.